
Category: Online Event Ticketing
Posted By: TicketDocker
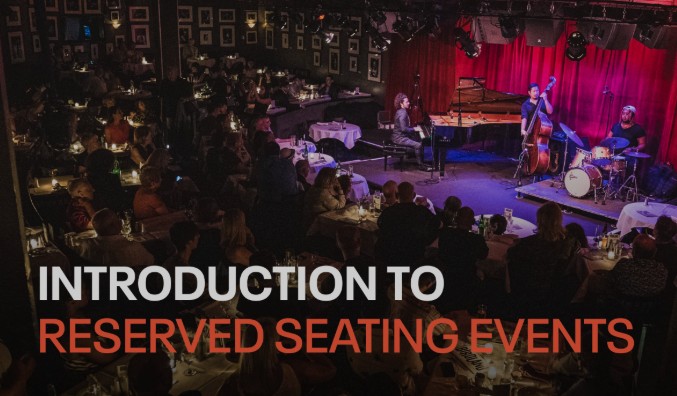
Stop settling for general admission. Reserved seating increases revenue, enhances the attendee experience, and gives you ultimate control over your venue. Here is the process simplified.
Reserved seating is a cornerstone of professional event management, whether you're running a concert, theatrical performance, gala dinner, or large-scale conference. It allows attendees to hand-select their spot, giving them peace of mind and often encouraging them to pay a premium for a better view.
But setting it up can feel complex. Thankfully, modern event ticketing platforms have made the process incredibly intuitive. Follow this guide to turn your venue into an interactive, profit-maximizing seating chart.
Before touching any software, you need a precise map of your venue. This must include all fixed elements: the stage, aisles, exits, restrooms, and, most importantly, the exact location and numbering of every seat, row, and section. A high-resolution PDF or image file is ideal.
Reserved seating allows you to implement **tiered pricing**, which is a powerful revenue tool. Determine which areas of your venue will correspond to different price points:
Tip: Don't forget to factor in seats you need to hold back for special guests, media, or last-minute box office sales. These are called "Holds" or "Comp Tickets."
This is where your chosen ticketing software's reserved seating builder comes into play. Major platforms like Eventbrite, TicketSpice, TicketLeap, and others offer drag-and-drop tools to digitize your venue.
Log into your ticketing platform and select the option to create a **Reserved Seating** event. Most systems will let you either:
Crucial Task: Ensure the digital map's row and seat labels match your physical venue's labels *exactly* (e.g., Row A, Seat 101).
Once the layout is built, you need to tell the system which seats belong to which price category. Use the selection tool to:
The seats will typically change color on the map to reflect their assigned tier, making it easy for you to visualize the pricing structure.
If you plan to offer a "Best Available Seat" option to buyers, the system needs to know which seats are "best."
Use the **"Holds"** feature in your seating map editor to temporarily block off seats you do not want sold to the general public. This is perfect for:
You can often generate a unique access code to release these holds to specific individuals later.
Always test your final seating map before publishing! View your live event page and go through the ticket-buying process. You should confirm:

TicketDocker is a leading digital platform that helps organizers to plan, promote, and sell event tickets online without paying any commission on per ticket basis. Our goal is to cut down the large fees for event ticketing. We do everything to provide event organizers an economical and flexible ticketing system with cutting edge technologies.... Learn more about TicketDocker
453 S Spring St, Ste 400
Los Angeles, CA - 90013